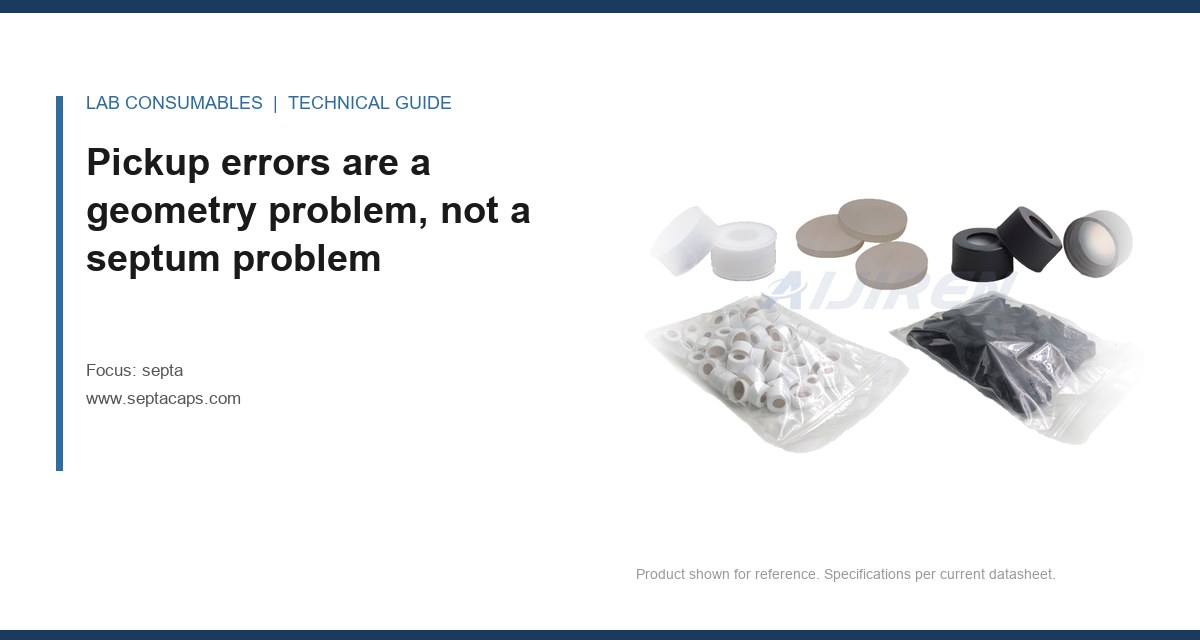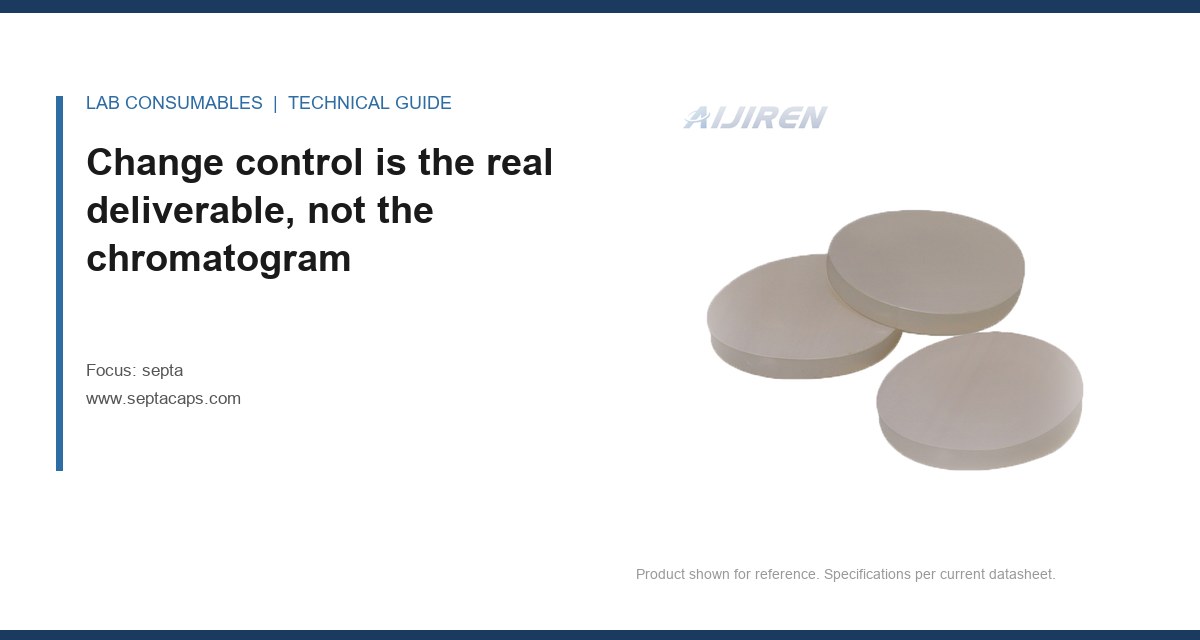
Lot 22-1147 arrived on a Tuesday with the same part number, the same 8 mm silicone/PTFE sandwich, and the same CoA template as the previous four lots. By Thursday the QC run on our in-house check mix showed the internal standard area count down 6.2% against the rolling mean, and the 2-ethylhexanol tailing factor had moved from 1.08 to 1.31. Nothing in the method had changed. The septa had. That is the moment the revalidation question lands on your desk, and the answer is not “revalidate everything” or “it’s just a consumable.” It is a documented decision that maps the change to a defined set of tests, and it is the decision an inspector will read line by line.
This page is about revalidation triggers when a septa supplier or lot changes: which changes force a full revalidation, which only need verification, and how to write the change-control entry so the reviewer accepts it without a second round of questions. If you are still choosing a septum, start with Septa at septacaps.com. If you are already running and the lot has shifted, keep reading.
I have sat through three supplier audits where the septa discussion went badly, and in every case the chromatograms were fine. The problem was the paper trail. An inspector does not care that your system suitability passed after the switch. They care that you defined, before you ran anything, what “passing” would mean for this specific change, and that the definition was proportional to the risk.
The regulatory frame is not complicated. ICH Q2(R2) sets out what validation is. ICH Q7 and 21 CFR 211.160/211.165 set out that you control changes to methods and materials. USP <621> governs system suitability for chromatography and is where most of your acceptance numbers will actually live. The gap that catches people is that none of these documents mention a septum. The septum is a component of the sample introduction path, and you have to make the risk argument yourself.
The argument I use is a simple one: a septum contacts the sample, sits in a heated zone, and is punctured by the needle on every injection. It is a material in contact with the analytical system. Any change to its composition, its dimensions, or its manufacturing source is a change to a material that touches the method. That is enough to require a documented risk assessment. It is not automatically enough to require revalidation.
Three change classes, and what each one actually forces
I classify every septa change into one of three buckets before I write a single test into the protocol. Getting the bucket right is 80% of the work. Getting it wrong in the conservative direction wastes weeks. Getting it wrong in the permissive direction is how you end up explaining a 6% area drop to an investigator.
Class 1: verification only
These are changes that cannot plausibly alter the analytical result if the incoming material meets its specification. They need a documented verification, not a revalidation.
- Same supplier, same part number, new lot with a CoA that matches the release specification on every critical attribute (thickness, durometer, PTFE film thickness, extractables by the supplier’s method).
- Packaging change (bag count, tray format) with no change to the moulded part.
- Supplier site change where the same tooling, same compound, and same process are documented and the supplier provides a formal equivalence statement.
- Colour or marking change on a non-contact surface.
Verification here means: run system suitability on three consecutive injections per method, confirm the acceptance criteria in your method are met, and file the CoA comparison alongside. That is a half-day of work. Do not turn it into a three-week study.
Class 2: verification plus a bounded comparability study
This is where most real changes land, and where most change-control entries are too thin.
- New supplier for the same nominal specification (8 mm, 5 mm thick, silicone/PTFE, 45 Shore A).
- Compound change at the same supplier (different silicone cure system, different PTFE film grade, different filler loading).
- Moulding process change (transfer to compression, or a new tool) that alters the puncture geometry.
- Thickness change within the drawing tolerance but at the edge of it.
These changes can alter extractables, coring behaviour, and the seal against the inlet. A comparability study here should include, at minimum: system suitability on the existing method, a blank injection sequence to check for ghost peaks, a coring count, and a check-standard run against the previous lot’s mean.
Class 3: full revalidation
Reserve this for changes that alter the material chemistry in contact with the sample, or the physical interface with the instrument.
- Polymer class change (silicone to EPDM, or PTFE-faced to unfaced).
- Dimension change outside the drawing tolerance, or a change to the sealing lip geometry.
- Any change that produces a measurable shift in extractables by your own screening test, regardless of supplier assurances.
- Changes on a method that is already at the edge of its system suitability limits (tailing factor within 10% of the upper limit, or resolution within 15% of the minimum).
Full revalidation means the validation package for the method gets re-executed at the level the change justifies: accuracy, precision, specificity, and system suitability, at minimum. For a stability-indicating method, add forced degradation on the specificity arm.
The decision table I actually use
Here is the version I keep in the SOP appendix. The numbers are the ones I have found defensible across HPLC and GC methods.
| Change | Class | Minimum test set | Acceptance criteria | Documentation |
|---|---|---|---|---|
| Same supplier, new lot | 1 | System suitability, n=3 | Per method (e.g., RSD ≤ 2.0%, tailing ≤ 1.5) | CoA comparison + SST record |
| New supplier, same spec | 2 | SST + blank + coring count + check standard vs prior lot | Mean within 2% of prior lot; no new peaks > 0.05 AU | Comparability report |
| Compound change | 2 or 3 | Above + extractables screen | No new peaks above LOQ; SST within method limits | Comparability + risk assessment |
| Polymer class change | 3 | Full method revalidation | Per validation protocol | Revalidation report |
| Dimension outside tolerance | 3 | Full revalidation + fit trial | Per validation protocol + seal check | Revalidation + fit trial record |
| Supplier site change, same tooling | 1 | SST, n=3 | Per method | Equivalence statement + SST |
Two things about this table. First, the acceptance criteria column is where inspectors look first, and “per method” is not an answer. Write the number. Second, the coring count on the Class 2 line is not optional. I have seen a supplier change that passed SST cleanly and failed coring at 60 punctures where the previous lot held to 120. The coring failure showed up three weeks later as an intermittent ghost peak on a method running 40 injections per batch.
What to measure before you write the change-control entry
The change-control entry is only as good as the data behind it. Here is the measurement set I run before I write a word of justification.
1. Baseline the current lot
Pull the last three lots of the outgoing septum and pull their SST records. Compute the mean and the RSD of the internal standard area across those runs. That is your baseline. If you do not have three lots, you have a data gap and the change-control entry needs to say so honestly.
2. Run a blank injection sequence
Five blank injections with the new septum, same method, same vial set. Any peak above the method LOQ is a finding. This is the single most useful test for a compound change, and it is the one most people skip because “the supplier said it’s equivalent.”
3. Count punctures to failure
Use a fresh needle, a defined injection volume, and a defined septa lot. Puncture at the same position until you see the first core in the vial or the first pressure fault. Record the number. Compare to the outgoing lot. A drop of more than 25% is a flag even if SST passes.
4. Check the seal against the inlet
For GC, a leak at the septum nut shows up as a retention time drift and a falling inlet pressure. Torque the nut to the manufacturer’s spec (typically 15 to 25 in·lb for a standard 1/4-inch nut, or hand-tight plus a quarter turn if the inlet is a compression type) and run a pressure decay test. Any change in leak-down time between lots is a finding.
5. Run the check standard against the prior lot
Same standard, same column, same method, alternating old and new septa. If the mean area differs by more than 2%, you have a comparability question that the change-control entry has to answer, not bury.
Field case: the 6% area drop that was not method drift
The opening scene is a real one from a contract lab running a USP method for a small-molecule API. The symptom was the 6.2% internal standard area drop and a tailing factor move from 1.08 to 1.31. The instinct was to blame the column. The column was three weeks old and the plate count was stable.
What identified it was the blank injection sequence. The new lot showed a small peak at 4.3 minutes that the prior lot did not. That peak co-eluted with the internal standard on the fast gradient, and the integration algorithm was splitting the peak. The fix was not to reject the lot. The fix was to widen the integration window and re-run comparability, which then passed at 1.4% area difference. The change-control entry documented the integration change, the blank data, and the re-run. The inspector accepted it on the first pass because the entry showed the investigation, not just the conclusion.
Field case: the coring failure that passed SST
A pharma QC lab switched septum suppliers on an HPLC method running 96-well autosampler plates. SST passed on day one. Three weeks later, intermittent ghost peaks appeared on roughly one in forty injections, always on the last row of the plate.
The measurement that identified it was a coring count. The new septa held to 58 punctures before the first visible core; the old lot held to 130. The autosampler was puncturing the same position on the last row because of a plate-height calibration issue, and the new septa gave up at half the puncture count. The fix was a septum with a bonded PTFE facing and a thicker silicone body (from 3 mm to 5 mm), plus a re-calibration of the plate height. The change-control entry documented the coring data, the plate-height finding, and the specification change that followed.
This is the case that taught me to put coring in the Class 2 test set. SST alone does not catch it. The Autosampler Vial at autosamplerhplc.com geometry matters as much as the septum, and the two have to be evaluated together.
Writing the change-control entry an inspector will accept
The entry has five parts. Miss any one and you get a comment.
Part 1: the change description in physical terms
Not “supplier change.” Write: “Septum part number X, 8 mm diameter, 5 mm thick, silicone body with 0.13 mm PTFE facing, 45 Shore A, changed from Supplier A lot 22-1099 to Supplier B lot 22-1147. Compound cure system changed from platinum-catalysed addition to peroxide-catalysed.” That level of detail is what lets the reviewer judge whether your risk class is right.
Part 2: the risk assessment with the class justification
State the class (1, 2, or 3) and the reason. Reference the decision table in your SOP. If you classified a compound change as Class 2, say why it is not Class 3 (for example: “extractables screen showed no new peaks above LOQ at the method’s detection wavelength”).
Part 3: the test protocol, written before the tests
Pre-approve the protocol. List the acceptance criteria as numbers. If you write the criteria after you see the data, the entry is worthless and an experienced inspector will spot the timestamp gap.
Part 4: the results with the raw data attached
Chromatograms, SST tables, coring counts, leak-down times. Attach, do not summarise. The summary goes in the entry; the raw data goes in the appendix.
Part 5: the disposition and the follow-up
State whether the change is approved, approved with conditions, or rejected. If approved with conditions, name the condition and the date it will be met. If the change is approved, state whether the method’s system suitability criteria need updating. In the first field case, the integration window changed, and that change had to be reflected in the method document, not just the change-control entry.
When the supplier’s CoA is not enough
Most septa CoAs list thickness, durometer, and a visual inspection result. That is not a material equivalence statement. If you are switching suppliers, ask for the compound’s extractables profile by a defined method, and if the supplier cannot provide it, run your own blank injection sequence. The Restek technical resources have useful reference material on septa extractables and bleed, and the Agilent GC consumables documentation is a reasonable starting point for what a comparable spec sheet should contain. The Thermo Fisher chromatography sample handling pages are worth a look for autosampler-specific septum guidance.
For methods under U.S. EPA SW-846, the septa question is even less well-defined, and the change-control entry has to carry the whole argument. That is a separate article on this site; here, just note that the SW-846 methods do not name a septum, so your entry is the only place the equivalence case gets made.
Revalidation triggers you should write into the SOP now
If your SOP does not name these triggers, add them. They are the ones I have seen cause the most trouble when left implicit.
- Any change in polymer class (silicone, EPDM, PTFE-faced, unfaced).
- Any change in facing thickness greater than 0.02 mm.
- Any change in body thickness outside the drawing tolerance.
- Any change in the cure system (platinum to peroxide, or vice versa).
- Any change in supplier site without a documented equivalence statement.
- Any lot that fails the coring count by more than 25% against the rolling mean.
- Any lot that produces a new peak above LOQ in the blank injection sequence.
- Any method already within 10% of its SST limits on tailing or resolution.
The last one is the one people forget. A method that is comfortably inside its limits can absorb a Class 2 change with a verification. A method that is at the edge cannot. The change-control entry should say which kind of method you have.
A note on the vial side of the interface
Septa do not change in isolation. If the change is accompanied by a vial change (crimp vs screw, different neck geometry), the interface is what you are really testing. The Vial Septa at vialsepta.com pages cover the geometry side, and the HPLC Vial at hplcgc.com resource covers the autosampler fit. If both the septum and the vial change at once, run the comparability study as a single combined change, not two separate ones, because the interaction is what will bite you.
The decision rule
If the change alters the material in contact with the sample or the physical interface with the instrument, it is Class 3 and gets full revalidation. If it alters the source or the lot but not the specification, it is Class 2 and gets the comparability set: SST, blank sequence, coring count, check standard against the prior lot. If it alters neither, it is Class 1 and gets a verification. Write the class, the acceptance numbers, and the test protocol before you run anything, attach the raw data, and state the disposition. That is the entry an inspector will accept, and it is the only part of the septa change that outlives the lot.
References & further reading
Related resources from our lab consumables network:
- Septa at septacaps.com
- Vial Septa at vialsepta.com
- Hplc Vial at hplcgc.com
- Autosampler Vial at autosamplerhplc.com
External references and standards: