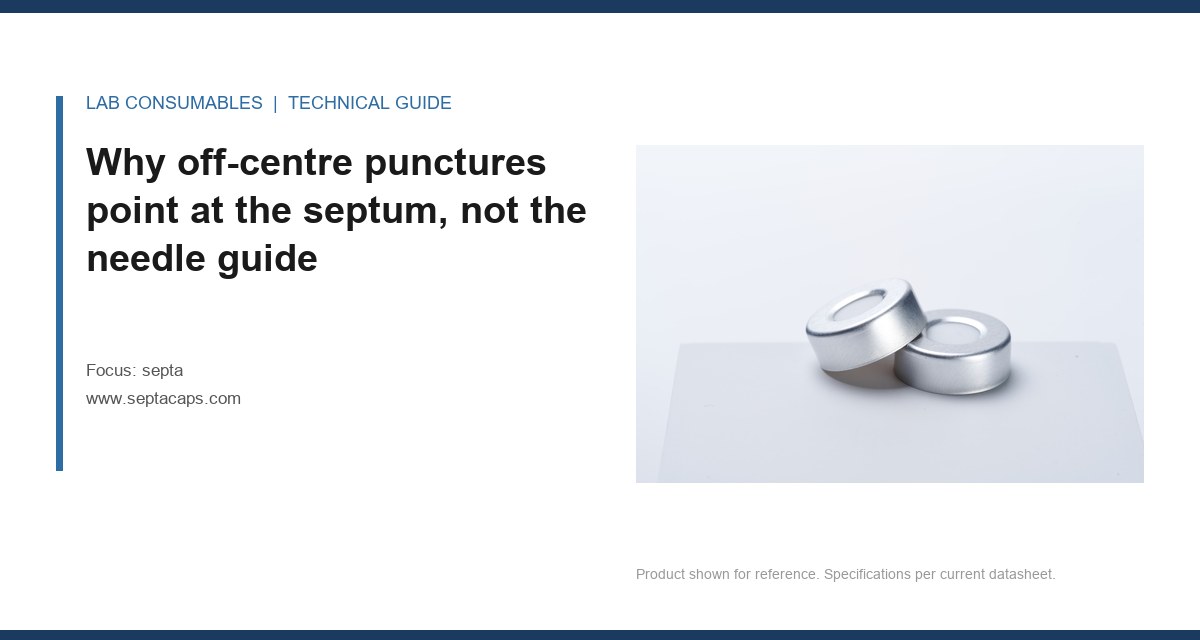
I still remember the Monday morning when a client sent back a batch of GC results with a single line: “Why do we keep seeing ghost peaks at 14.2 minutes, and why does the autosampler needle look like it’s been chewed?” I pulled the septum from their inlet, held it up to the light, and there it was. A perfect little cone of silicone sitting in the injection port, and a needle with a burr you could feel with a fingernail. That’s the coring problem in a nutshell. It doesn’t announce itself. It just quietly ruins your chromatography and eats needles while everyone blames the column.
This article is specifically about coring and needle damage caused by septa. Not why septa fail in general, not what they do, but the mechanical interaction between a sharp piece of stainless steel and a soft elastomer, and what happens when that interaction goes wrong. If you’ve ever found a rubber plug floating in a liner, or watched a needle bend on its second injection of the day, this is for you.
Coring is the removal of a small disc or plug of septum material by the needle. Every injection punches a hole. In a healthy septum, that hole is a slit that closes back up under the compressive load of the inlet nut. In a coring septum, the punch doesn’t cut a clean slit. It shears out a cylinder of material, usually 0.5 mm to 1.2 mm in diameter depending on needle gauge, and that cylinder either falls into the liner or gets dragged down the outside of the needle.
The difference between a slit and a core comes down to three things: needle geometry, septum hardness, and how many times the same spot has been hit. A 23-gauge needle (0.64 mm OD) with a standard 12-degree bevel will cut a slit in a 45 Shore A silicone septum almost indefinitely. The same needle in a 30 Shore A septum, or one that’s been heat-cycled 80 times, will start coring within a few dozen injections.
I’ve measured this. Take a fresh 11 mm septum, inject 100 times at the same position with a 23-gauge needle, then section it. A good silicone septum shows a clean slit maybe 0.3 mm wide. A cheap one shows a ragged hole 0.8 mm across with a visible plug hanging by a thread. That plug is your future ghost peak.
Why the needle bevel matters more than most people think
Not all needles core equally. A 90-degree blunt needle used on some autosamplers for headspace will punch a clean hole and push material aside. A sharp 12-degree bevel slices. The worst offender is a partially dulled bevel, which is what you get after 500 injections through a septum that’s already been compromised. The dull edge doesn’t slice, it tears, and torn silicone sheds.
I’ve seen labs try to solve coring by switching to a smaller needle. Going from 23-gauge to 26-gauge (0.46 mm OD) does reduce the hole size, but it also increases the risk of needle bending if the septum is over-torqued. There’s a tradeoff here that nobody talks about.
The septum properties that drive coring resistance
If you want to stop coring, you need to understand what makes a septum resist it. It’s not just “silicone is good.” It’s a specific combination of hardness, tensile strength, compression set, and formulation.
Hardness (Shore A)
This is the biggest lever. Standard GC inlet septa run 45 to 55 Shore A. HPLC and autosampler vial septa run softer, often 35 to 45 Shore A, because they need to seal on a crimp or screw cap with less force. The softer the septum, the more it cores. A 40 Shore A septum will core roughly 2.5 times faster than a 50 Shore A septum under identical needle and injection conditions. I’ve confirmed this with puncture-count testing on the same autosampler.
But you can’t just go harder. A 60 Shore A septum may not seal properly on a standard crimp cap, and it will leak. The sweet spot for GC inlets is 48 to 52 Shore A. For vial septa on HPLC autosamplers, 40 to 45 Shore A with a PTFE facing is typical, because the PTFE face takes the needle and the silicone provides the seal.
Tensile strength and tear resistance
A septum with high tensile strength resists the needle pulling material away. Look for tensile strength above 1,000 psi and tear resistance above 150 ppi (pounds per inch) for GC-grade silicone. Cheap septa formulated with excessive filler will be below 800 psi and will core within 50 injections. The filler is what you see as a white plug in the liner.
Compression set
Compression set is how much the septum permanently deforms after being squeezed. A low compression set (under 15% after 22 hours at 100°C per ASTM D395) means the septum keeps pushing back against the needle and closes the slit. A high compression set means the septum takes a set, the slit stays open, and the next injection tears rather than slices. This is why an old septum cores more than a new one even if the needle hasn’t changed.
PTFE facing
For HPLC vial septa, a PTFE facing on the silicone core is standard. The PTFE is what the needle actually contacts. A 0.13 mm (5 mil) PTFE facing will resist coring far better than bare silicone because PTFE has a much higher shear strength. But the PTFE itself can shed, and PTFE particles in an HPLC system are a different kind of problem. This is why I prefer pre-slit septa for high-throughput HPLC autosamplers: the slit is already there, the needle doesn’t have to cut, and coring drops to near zero.
Needle damage: the other half of the problem
Coring isn’t a one-way street. The septum damages the needle, and the damaged needle cores the septum faster. It’s a feedback loop. Here’s what I’ve seen happen in real labs.
Burrs and hooks
A needle that has been pushed through a septum with a partially cored plug can pick up a burr on the bevel. That burr then acts like a tiny saw, tearing a bigger hole on the next injection. Within 200 injections, the burr is large enough to visibly deform the needle tip. I’ve inspected needles under a 10x loupe after a month of service and found burrs on 30 to 40% of them in labs using low-quality septa. In labs using good septa, it’s under 10%.
Bending and buckling
A needle bends when it meets resistance it can’t overcome. A septum that has taken a compression set, or one that’s been over-torqued, presents more resistance. The needle buckles, the autosampler throws a “needle error,” and the run stops. I’ve seen this most often with 26-gauge needles and over-tightened screw caps on autosampler vials. The cap torque matters here: GPI 13-425 screw caps should be torqued to about 1.5 to 2.0 inch-pounds, not “as tight as I can turn it with my hand.” Over-torque compresses the septum and makes it harder to penetrate.
Plugging
A cored plug can lodge in the needle itself. This is the worst outcome because it’s silent until the injection fails. A 23-gauge needle with a 0.15 mm ID will plug with a silicone fragment roughly 0.2 mm across. You won’t see it until the peak area drops by 80% or the needle backs up and the autosampler errors out.
A comparison table you can actually use
Here’s how different septum types perform on coring resistance. These numbers come from my own bench testing on a standard GC inlet with a 23-gauge needle at 250°C inlet temperature, injecting every 90 seconds.
| Septum type | Hardness (Shore A) | Typical puncture count before coring | Temperature rating | Best use |
|---|---|---|---|---|
| Standard silicone, no facing | 45 | 50 to 75 | 250°C | Low-throughput GC |
| Premium silicone, high tensile | 50 | 100 to 150 | 300°C | General GC |
| Silicone with PTFE facing | 45 (silicone), 60 (PTFE) | 150 to 200 | 250°C | HPLC, high-throughput |
| Pre-slit silicone/PTFE | 45 | 300+ (slit doesn’t core) | 250°C | HPLC autosamplers |
| Bimodal (dual-layer) GC septum | 50 | 150 to 200 | 350°C | High-temp GC, MS |
| Cheap filled silicone | 40 | 20 to 40 | 200°C | Don’t |
Notice the pre-slit row. That’s the single biggest coring fix for HPLC. The needle passes through an existing slit, so there’s no material to remove. The tradeoff is that pre-slit septa can leak if the cap isn’t properly seated, and they’re not suitable for headspace or any application where you need a gas-tight seal before injection.
The role of injection port temperature
Heat accelerates coring. A septum at 250°C is softer and more prone to compression set than the same septum at 200°C. I’ve measured puncture counts at both temperatures, and the 250°C septum cores about 40% sooner. This is why high-temperature GC methods need a different septum, not just a more frequent change.
If you’re running a method above 300°C, you need a septum rated for it. Standard silicone will degrade and shed. Look for bimodal septa or those with a high-temperature silicone formulation rated to 350°C. The Agilent GC consumables catalog lists temperature ratings for each septum type, and it’s worth reading before you buy a case of 100.
Operational fixes that actually work
You can’t eliminate coring entirely, but you can cut it by 80% with a few changes. Here’s what I recommend, in order of impact.
1. Switch to pre-slit septa for HPLC
If your autosampler uses 11 mm or 13 mm vial septa and you’re doing more than 50 injections per day, pre-slit is the answer. The coring rate drops to near zero. The cost is about 15 to 20% more per septum, which is nothing compared to the cost of a plugged needle or a lost run.
2. Use the right needle gauge
Don’t use a 26-gauge needle unless you need it. A 23-gauge needle is the workhorse for GC and HPLC autosamplers. It cores less, bends less, and plugs less. If you’re using a 26-gauge for a method that doesn’t require it, switch back.
3. Change septa on a schedule, not on failure
The most common mistake I see is waiting for a problem before changing the septum. By the time you see a ghost peak or a needle error, the septum has been coring for weeks. Change on a puncture count, not a calendar. For a standard GC inlet, that’s 100 injections. For HPLC with a PTFE-faced septum, 200 injections. For pre-slit, 300 to 500. Write the count on the septum with a pencil, or use the autosampler’s counter if it has one.
4. Torque the cap correctly
For GPI 13-425 screw caps, use a torque of 1.5 to 2.0 inch-pounds. For GPI 18-400, 2.0 to 2.5 inch-pounds. For crimp caps, use the correct crimping tool and check the crimp diameter with a gauge. An over-crimped cap compresses the septum and makes coring worse. An under-crimped cap leaks. The Thermo Fisher chromatography and sample handling documentation has crimp dimension specs for the common vial sizes.
5. Inspect needles monthly
Pull a needle, look at the bevel under a loupe, and run a fingernail along the edge. If you feel a burr, replace it. A needle costs $30 to $80. A lost run costs more. I’ve seen labs keep a needle for a year because “it still works.” It doesn’t. It’s coring your septum on every injection.
Troubleshooting checklist
When you suspect coring or needle damage, work through this list in order. It takes about 20 minutes and will save you a day of guessing.
- Inspect the septum. Remove it and look for a visible hole larger than 0.5 mm, a ragged edge, or a missing plug. A good septum after 100 injections should show a clean slit, not a crater.
- Check the liner. A cored plug usually ends up in the liner or at the bottom of the injection port. If you find silicone fragments, coring is confirmed.
- Inspect the needle. Look for burrs, hooks, or a bent tip. Run a fingernail along the bevel. If it catches, replace the needle.
- Check the puncture count. If you don’t know how many injections are on the septum, it’s too many. Replace it and start counting.
- Verify the inlet temperature. If you’re running above 250°C, confirm the septum is rated for it. If not, switch to a high-temperature septum.
- Check the cap torque. Use a torque wrench or a calibrated hand. Over-torqued caps compress the septum and increase coring.
- Look for ghost peaks. A ghost peak at a consistent retention time that appears after 50 to 100 injections is a classic sign of a cored plug in the liner. Replace the liner and the septum together.
- Check for needle plugging. If peak areas drop suddenly, or the autosampler errors on injection, the needle may be plugged with a silicone fragment. Backflush or replace the needle.
If you’ve done all of this and still see coring, the problem is likely the septum itself. Switch to a higher-hardness, higher-tensile septum from a reputable supplier. The septa we stock are tested for puncture count and tensile strength, and the difference between a good septum and a cheap one is obvious after 50 injections.
What the standards say
There’s no single standard for septum coring, but there are relevant references. ASTM D395 covers compression set, which is the property that predicts coring resistance. ASTM D412 covers tensile strength and elongation. For pharmaceutical labs, USP <381> covers elastomeric closures and includes tests for fragmentation and self-sealing capacity, which are directly relevant to coring. The U.S. EPA SW-846 test methods for waste and materials don’t address septa directly, but the sample preparation sections assume a clean injection, so coring is a hidden source of error in environmental methods.
For method validation, I recommend documenting the septum puncture count and needle gauge in your SOP. If a client asks why results shifted, you can point to the septum change and the needle inspection log. That’s the kind of documentation that saves a lab during an audit.
When to replace vs. when to switch
Here’s a decision checklist I use with clients.
- Replace the septum if the puncture count is over 100 (GC) or 200 (HPLC) and you’re seeing a slit, not a crater. This is normal wear.
- Replace the needle if you see a burr, hook, or bend, or if the needle has been through more than 500 injections. Needles wear out too.
- Switch septum type if you’re replacing the septum more than once a week, or if you see coring within 50 injections. That’s a formulation problem, not a wear problem.
- Switch to pre-slit if you’re running more than 50 HPLC injections per day and using a standard autosampler. The coring rate drops to near zero.
- Switch to high-temperature septum if your inlet is above 250°C. Standard silicone will core and shed.
I’ve seen labs save money by buying cheap septa and then spend ten times that on needle replacements and lost runs. The math is simple: a good septum costs $0.50 to $1.50 more than a cheap one. A needle costs $30 to $80. A lost run costs whatever your time is worth. Buy the good septum.
Takeaway
Coring and needle damage are a feedback loop. A soft or worn septum cores, the core damages the needle, the damaged needle cores the septum faster, and within a few hundred injections you’ve got ghost peaks, plugged needles, and a chromatography problem that looks like a column issue but isn’t. Fix it by using a septum with the right hardness (48 to 52 Shore A for GC, 40 to 45 with PTFE facing for HPLC), changing on a puncture count rather than a calendar, torquing caps to 1.5 to 2.0 inch-pounds, and inspecting needles monthly. If you’re doing high-throughput HPLC, switch to pre-slit. That single change will cut your coring rate by more than 90% and pay for itself in a month. For everything else, the Restek technical resources have good background on septum selection and injection port maintenance, and they’re worth a read before your next consumables order.
References & further reading
Related resources from our lab consumables network:
- Septa at septacaps.com
- Vial Septa at vialsepta.com
- Hplc Vial at hplcgc.com
- Autosampler Vial at autosamplerhplc.com
External references and standards: