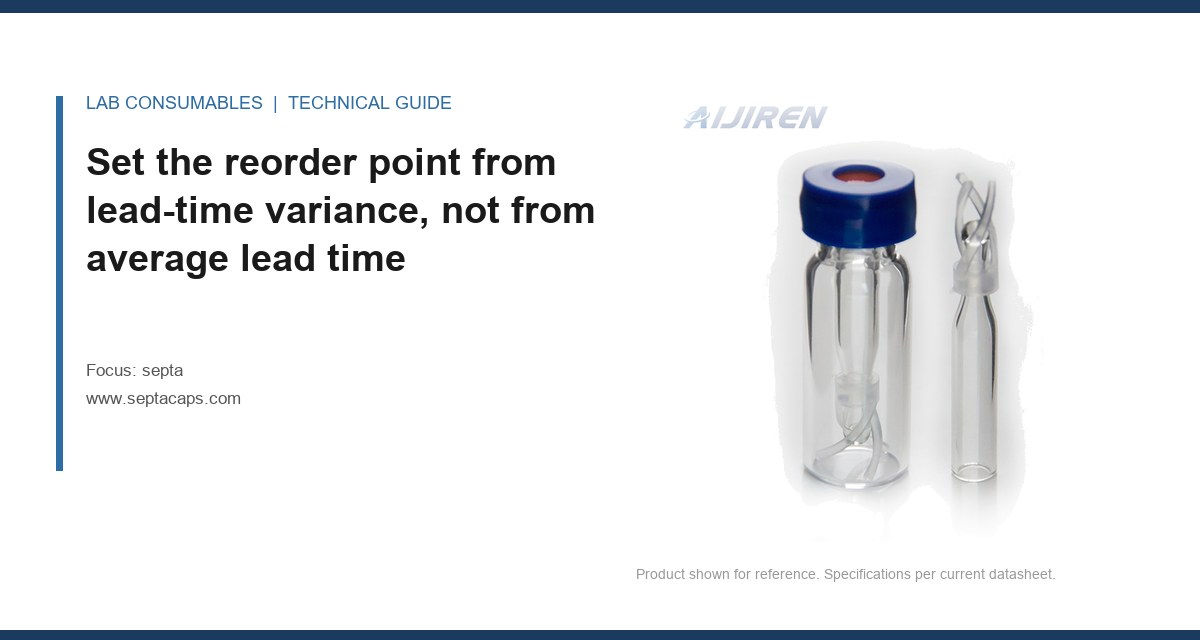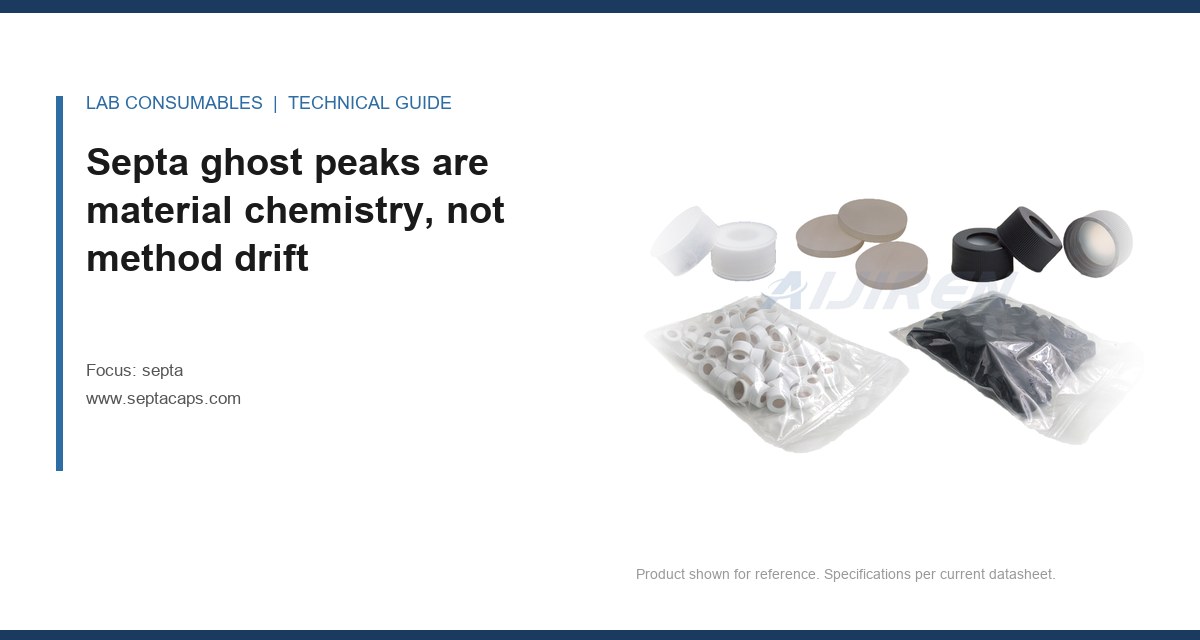
A 30 m × 0.25 mm × 0.25 µm GC column that had run clean for eleven months suddenly showed a 0.8 pA rise in FID baseline between 200 °C and 280 °C, plus three repeatable peaks at retention times matching nothing in the method. The integrator flagged them at 0.4 to 1.1 area counts. A solvent blank injected through the autosampler reproduced all three peaks; the same solvent injected through a manual syringe port on the same inlet did not. That single comparison isolated septa ghost peaks, extractables and contamination to the autosampler septum in about twenty minutes, before anyone touched the column. The mechanism, the material chemistry, and the isolation protocol are what this page covers.
Every septum is a formulation, not a single polymer. A typical silicone/PTFE sandwich is a platinum-cured polydimethylsiloxane (PDMS) disc bonded to a skived PTFE film, sometimes with a thin silicone adhesive layer. The PDMS carries low-molecular-weight cyclic siloxanes left over from curing, plus catalyst residues and plasticiser traces. The PTFE is comparatively inert but its processing aids and the adhesive between layers are not. Heat drives these species into the carrier gas stream, and the inlet deposits them on the column head.
What you see downstream depends on the detector. On FID, siloxanes arrive as a rising baseline and a cluster of peaks in the 200 to 300 °C region. On MS with scan acquisition, the diagnostic ions are unmistakable: m/z 73, 147, 207, 281, and 355, the classic PDMS series spaced 74 mass units apart. If your unknown peak extracts to m/z 207 or 281 with a matching isotope pattern, you are looking at a septum, not a sample. On an ECD or NPD, the picture changes, because sulfur and nitrogen compounds from vulcanising agents and antioxidants in sulfur-cured or peroxide-cured formulations respond strongly. That is why an ECD user can chase a “contamination” problem for weeks that an FID user on the same bench never sees.
The practical point: ghost peaks from septa are not random. They have a temperature threshold, a material signature, and a repeatable elution window. Learn the signature and you stop guessing.
Which compounds bleed from which material, and at what temperature
This is the table I keep taped inside the inlet service cabinet. The temperature ratings are the ones I trust after field failures, not the optimistic numbers on some datasheets.
| Septa material | Dominant extractables | Onset of measurable bleed | Practical upper limit | Best fit |
|---|---|---|---|---|
| General-purpose silicone (not PTFE-faced) | Cyclic siloxanes (D4–D10), catalyst residues, plasticiser | ~180 °C | 200 °C | Low-temp packed columns, isothermal work |
| Silicone/PTFE sandwich, standard grade | Siloxanes from the silicone face, PTFE processing aids | ~250 °C | 280 °C | Routine split/splitless, most methods to 280 °C |
| Low-bleed silicone/PTFE, preconditioned | Residual siloxanes, reduced to trace | ~300 °C | 325 °C | High-temp GC, MS confirmation |
| Moulded silicone with sulfur-cure residues | Thiols, sulfides, thiophene-type species | ~150 °C | 220 °C | Avoid on ECD, SCD, NPD, PFPD |
| PTFE-faced, high-density (headspace) | Minimal; PTFE processing aids only | ~320 °C | 350 °C | Headspace, SPME, trace work |
| Butyl / bromobutyl | Hydrocarbons, brominated species | ~120 °C | 180 °C | Low-temperature only; avoid on halogen-sensitive detectors |
Two numbers matter more than the rest. First, the onset temperature, because that is where your baseline starts to lift and where ghost peaks first appear. Second, the practical upper limit, because running a septum 20 °C above its real rating accelerates bleed by an order of magnitude. I have measured baseline rise on a standard silicone/PTFE septum that was negligible at 260 °C and grew to a 1.5 pA step at 290 °C within three injections. That is not a gradual relationship. It is a knee.
If your method holds the inlet at 300 °C and your septum is rated to 280 °C, you have already found your ghost peaks. Change the septum grade before you change the column.
Why column conditioning does not fix a septum problem
The most common misdiagnosis I see: the analyst sees siloxane peaks, assumes the column is contaminated, and bakes it overnight at 320 °C. The peaks reduce, then return within a shift. The reason is simple. The septum is still sitting in the inlet, still hot, still bleeding. You cleaned the symptom and left the source running.
Bleed from a septum is a continuous, low-level flux. It deposits on the stationary phase at the head of the column, where the carrier gas is hottest and the sample first contacts the phase. That deposit is what produces the characteristic early-eluting cluster and the baseline lift at high temperature. A bake-out removes the deposit; it does not remove the flux. The only durable fix is to lower the flux at source: a lower-bleed septum, a lower inlet temperature, or both. This is also why a fresh septum can make things worse for the first few injections, before it has been conditioned by the heat of the inlet. That initial spike is the residual low-molecular-weight fraction burning off, and it is why I always precondition a new septum with two or three blank runs before running a sample.
Isolating the source with blank and placebo injections
This is the part most labs skip, and it is the part that saves the most time. You need three injections, in this order, on the same instrument, same method, same column:
- System blank. No vial, no sample. Just run the temperature programme with the autosampler idle. This establishes the baseline and tells you whether the instrument itself is clean. If peaks appear here, the inlet, liner, or column is already contaminated, and you must clean before proceeding.
- Solvent blank through the autosampler. Inject pure diluent (the same solvent your samples use) through a fresh vial and a fresh septum. Any peak that appears here and was absent from the system blank came from the vial/septum path. This is the decisive test.
- Placebo injection. Prepare a matrix-matched blank: same vial, same septum, same diluent, but no analyte. If your method has a matrix, this is the only way to separate matrix-derived peaks from septum-derived peaks.
The comparison that matters is autosampler path versus manual path. If the peaks appear through the autosampler septum but not through a manual syringe port into the same inlet, the septum is confirmed. If they appear through both, the inlet itself (liner, seal, or column) is implicated, and you are looking at a different problem.
For labs running headspace, the protocol changes slightly: run a headspace blank with an empty vial, then a vial containing only diluent, then a matrix placebo. The septum on the headspace vial is a separate bleed source from the inlet septum, and both can produce ghost peaks. The vial septum is often the one people forget, and it is the one that shows up when you use a vial septa grade that was never intended for 150 °C headspace oven temperatures.
A quick decision checklist for the isolation run
- Run the system blank first. If it is dirty, stop and clean the inlet.
- Run the solvent blank through the autosampler with a fresh septum. Compare peak list to the system blank.
- Run a manual injection of the same solvent into the same inlet. Compare again.
- If peaks are autosampler-only, swap the septum for a known low-bleed grade and repeat. If they vanish, confirmed.
- If peaks persist, check the inlet liner, the gold seal, and the column head. You are now in inlet-contamination territory, not septum territory.
- Record the septum lot number, the inlet temperature, and the number of injections since the last change. These three data points are what tell you whether you have a bad lot or a method that is running the septum past its rating.
Two field cases where the measurement found the septum
Case 1: the ECD that was chasing sulfur
A contract lab running organochlorine pesticides on an ECD reported a baseline that drifted upward across a 40-minute run, with three unidentified peaks at 6.2, 7.8, and 9.1 minutes. The method held the inlet at 250 °C. The analyst had already replaced the column and cleaned the inlet twice. The measurement that cracked it: a solvent blank through the autosampler showed all three peaks; a manual injection of the same solvent into the same inlet showed none. The septum was a moulded silicone grade with sulfur-cure residues, bought on price. The fix was a switch to a low-bleed silicone/PTFE septum rated to 300 °C, plus a 20 °C reduction in inlet temperature. Baseline drift dropped from 0.6 pA over the run to under 0.1 pA, and the three peaks disappeared. The lesson: on an ECD, a sulfur-cured septum is a sulfur source, and no amount of column conditioning will fix it.
Case 2: the headspace vial septum that looked like a sample problem
A food-flavour lab running headspace GC-MS on a 150 °C oven kept finding a cluster of siloxane peaks (m/z 73, 147, 207) in every sample, including a diluent-only vial. The inlet septum had already been changed to a low-bleed grade with no effect. The decisive measurement was a headspace blank with an empty sealed vial: the siloxane cluster was still there. That isolated the source to the vial septum, not the inlet septum. The vial septa in use were standard silicone-faced, rated to 200 °C but with a high residual siloxane load. Switching to a PTFE-faced, low-bleed vial septum designed for headspace use eliminated the cluster. The lab had been replacing inlet septa for six weeks while the actual source sat on every vial in the tray.
Both cases share a structure: the analyst assumed the inlet septum was the source because that is the septum everyone thinks of first. The blank-and-placebo comparison is what redirected the investigation to the correct septum.
Matching septum grade to inlet temperature and detector
The selection rule is simple, and it is driven by two numbers you already know: your maximum inlet temperature and your detector type.
- Inlet ≤ 250 °C, FID or TCD: a standard silicone/PTFE sandwich is fine. Replace every 100 to 150 injections, or when the baseline at high temperature starts to lift.
- Inlet 250 to 300 °C, FID or MS: use a low-bleed, preconditioned silicone/PTFE grade. Replace every 80 to 100 injections. Verify the bleed spec at your operating temperature, not at the datasheet’s headline rating.
- Inlet above 300 °C: you need a high-temperature grade rated to at least 325 °C, and you should consider whether the method genuinely needs that inlet temperature. Often it does not.
- Any sulfur- or nitrogen-sensitive detector (ECD, NPD, SCD, PFPD): avoid sulfur-cured and peroxide-cured silicones entirely. Specify a low-bleed grade with a certificate of analysis that states residual sulfur and siloxane content.
- Headspace and SPME: the vial septum is the bleed source. Use a PTFE-faced, low-bleed vial septum rated above your oven temperature, with a magnetic or crimp closure that holds a consistent seal. The autosampler vial closure matters here as much as the septum itself.
For method development on new columns, the general guidance from the major consumables vendors is worth reading alongside your own bleed data. Agilent’s GC columns and accessories documentation includes bleed specifications that pair with septum grade selection, and Thermo Fisher’s chromatography and sample handling resources cover the same ground for their platforms. Restek’s technical resources are the ones I reach for first when I need to cross-check a bleed claim against an independent measurement.
Operational precautions that keep a clean septum clean
Grade selection gets you most of the way. These habits close the gap:
- Precondition every new septum. Install it, run two or three blank temperature cycles to your maximum inlet temperature, and do not inject samples until the baseline is flat. The first injection on a fresh septum is always the dirtiest.
- Track punctures against the injection count, not the calendar. A septum that has taken 90 injections in a week is at end of life regardless of how new it looks. Coring and needle wear accelerate bleed by opening a wider path for carrier gas to sweep the silicone face.
- Match the needle gauge to the septum. A 23-gauge needle (0.64 mm OD) in a septum designed for 26-gauge (0.46 mm) punctures creates a larger hole and a larger bleed path. Check the needle guide and septum spec together.
- Do not over-torque the inlet nut. Follow the manufacturer’s spec, typically around 1.1 to 1.4 N·m for a standard split/splitless inlet. Over-torquing deforms the septum and increases the exposed silicone surface area, which increases bleed.
- Store septa in the original sealed packaging. Silicone absorbs volatile organics from the air. A septum left in a drawer next to a solvent bottle will show solvent peaks on its first injection. This is a real failure mode, not a theoretical one.
- Record the lot. When you find a bad lot, you need the lot number to trace it and to justify a supplier conversation. A septum lot that bleeds at 250 °C when the previous lot did not is a quality escape, and the data is what gets it fixed.
If you are running a regulated method under SW-846 or a USP chapter, the septum is a consumable that affects system suitability. Document the grade, the lot, and the replacement interval in your method. When an auditor asks why the baseline was different on a given day, that documentation is the answer.
The decision rule: isolate before you replace
When ghost peaks appear, do not start with the column and do not start by swapping every septum in the building. Run the three-injection isolation sequence: system blank, autosampler solvent blank, manual solvent blank. If the peaks are autosampler-only, the septum is confirmed, and the fix is a grade matched to your inlet temperature and detector, preconditioned before use, and replaced on an injection count rather than a calendar. If the peaks appear on the manual path too, the septum is exonerated and you are looking at the inlet or the column. The septa ghost peaks, extractables and contamination question resolves to a single comparison, and the comparison takes twenty minutes. The column bake-out takes overnight and fixes nothing. For a full range of grades matched to inlet temperature and detector type, the septa catalogue at septacaps.com is organized by the same onset-temperature and practical-limit figures used in the table above, and the HPLC vial selection guide covers the vial-side septum for headspace and LC-MS work.
References & further reading
Related resources from our lab consumables network:
- Septa at septacaps.com
- Vial Septa at vialsepta.com
- Hplc Vial at hplcgc.com
- Autosampler Vial at autosamplerhplc.com
External references and standards: